Step 1: On 1966 and older models the Voltage Regulator is located in the engine bay above the generator. On ’67 and newer models remove the bottom of the back seat and it will be located on the drivers side.
Step 2: Remove the negative battery cable first then the positive battery cable from the battery.
Step 3: Remove Voltage regulator, by removing the two screws located in either side of the regulator.
Step 4: Take one yellow (large) wire connector and connect the two (B & D) wires into one side. Then take the big red 10g wire from the battery positive side and connect it to the other side of the yellow wire connector.
Step 5: Take the blue (61) and green (DF) 18 gauge wires and connect them. Double check all connections
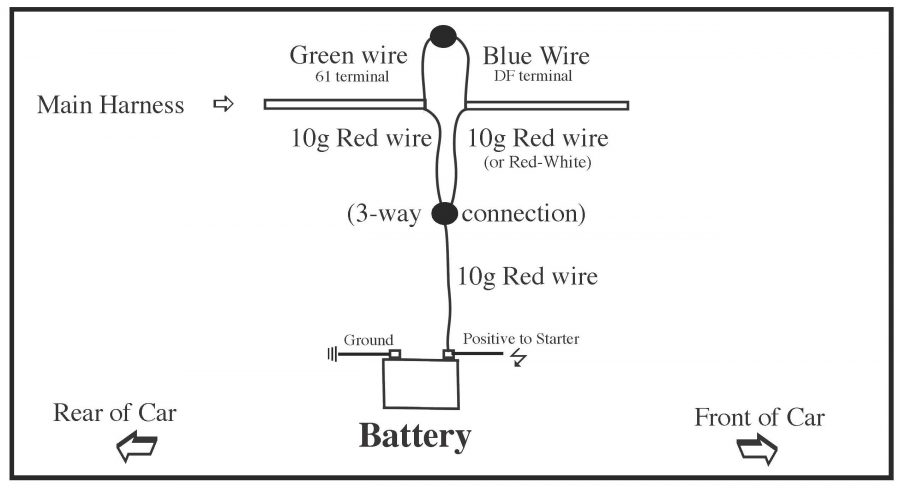
Step 6: Proceed to install the new Alternator and parts on to the motor using the diagram on the rear of this page.
NOTE: The warning light located in the speedometer must be a 12 volt bulb and in working order for the charging system to work properly.
If the indicator warning light in the dash does not illuminate when the ignition is first turned on, the charging system will not work!